How To Clean Makeup Brushes & Sponges
Here are simple instructions for how to clean makeup brushes and sponges, so you can apply your cosmetics smoothly and without fear of bacteria and germs.
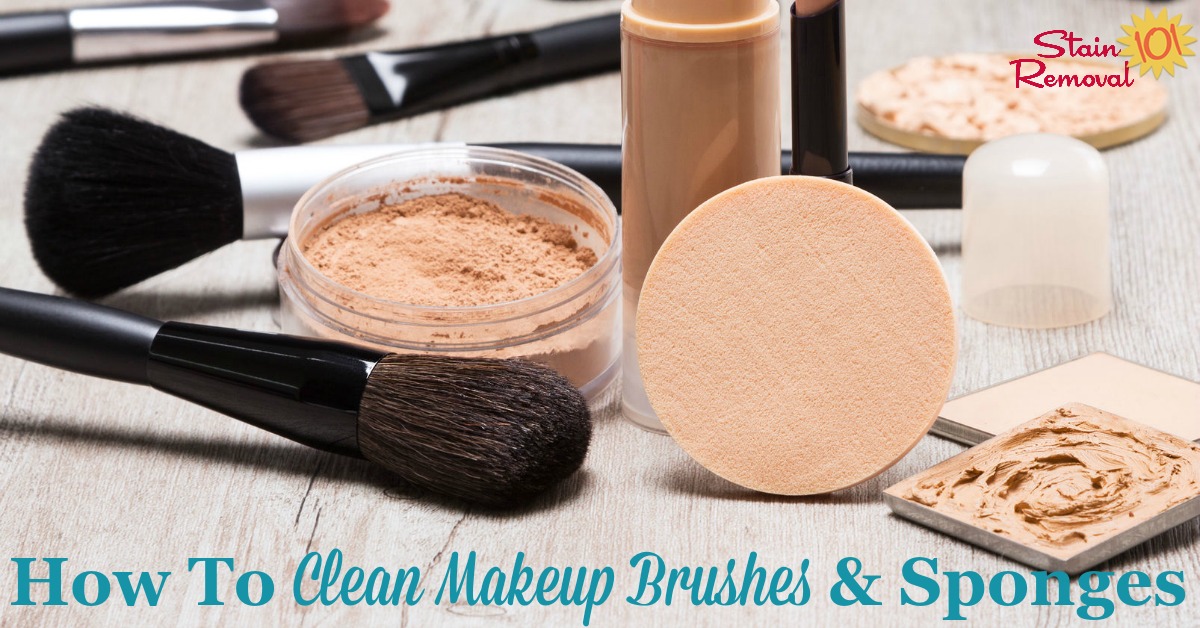
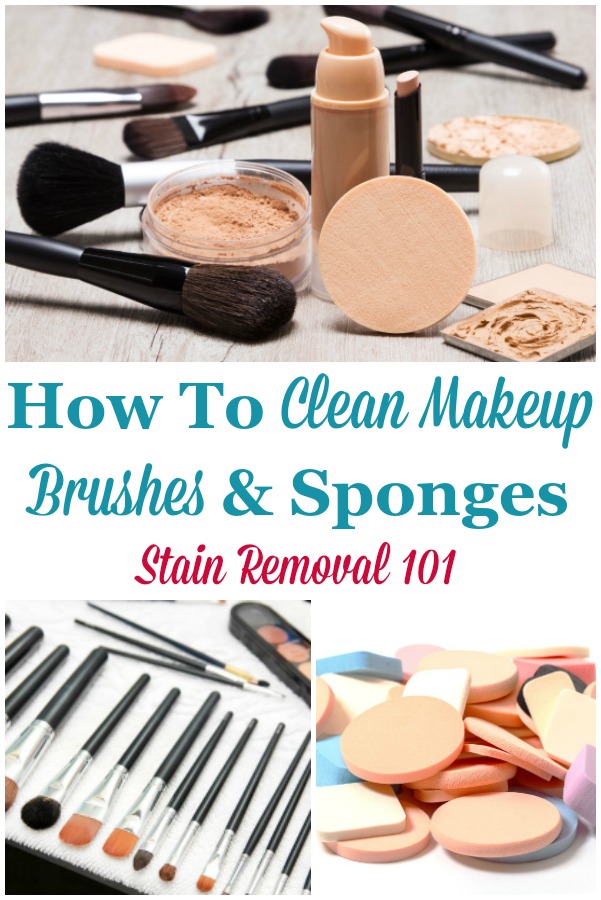
Each time you apply makeup you most likely use makeup brushes, sponges or another type of applicator to do it. But if you aren't regularly cleaning these brushes and other applicators you're not doing yourself any favors.
Instead, each time you use a dirty brush or applicator for applying your cosmetics you're smearing or brushing dirt, oil, dead skin cells, and bacteria all over your skin. Yuck.
Fortunately, cleaning these beauty supplies is simple and quick, and for both health and safety reasons it's definitely worth your time. Here's instructions for how to clean these items starting today.
How Often To Clean Brushes & Sponges
You should clean your makeup brushes at least once a month, and ideally every couple of weeks.
This time frame is just as important whether you apply makeup every day or only occasionally.
While it's true that the more you use your brushes the dirtier they get with makeup residue, oil and dead skin cells, it is also true that, regardless of how often they're used, your brushes, once dirty, become a breeding ground for bacteria.
So even if you haven't applied makeup for two weeks since the last time you washed that brush, go ahead and wash it again before the next use.
Makeup sponges should be washed even more frequently than brushes. You should wash them every few days, or at least once there are no more clean unused sections of the sponge.
Because the sponges typically take a bit longer to dry than brushes, you should make sure to have a couple sponges and applicators in rotation so some can be drying after cleaning, while others are in use.
Further, although you should be gentle as you clean the sponges, the cleaning process does put some additional wear and tear on them, so you need to be prepared to change them out with new ones as they begin to lose their shape or come apart a bit.
Instructions For Cleaning Makeup Brushes
You don't need many cleaning supplies to clean your makeup brushes. You'll need a shallow bowl, a cup of lukewarm water, a small squirt of baby shampoo (or you can use dish soap in a pinch), and an old towel for drying.
I suggest baby shampoo since it is mild, but still is able to cut grease and oil, which are some of the harder to remove ingredients in makeup.
In the alternative, you can also use a makeup brush cleaner, designed specifically to remove makeup from the bristles in these types of brushes. Below I'll show you some brands that are highly rated for this task.
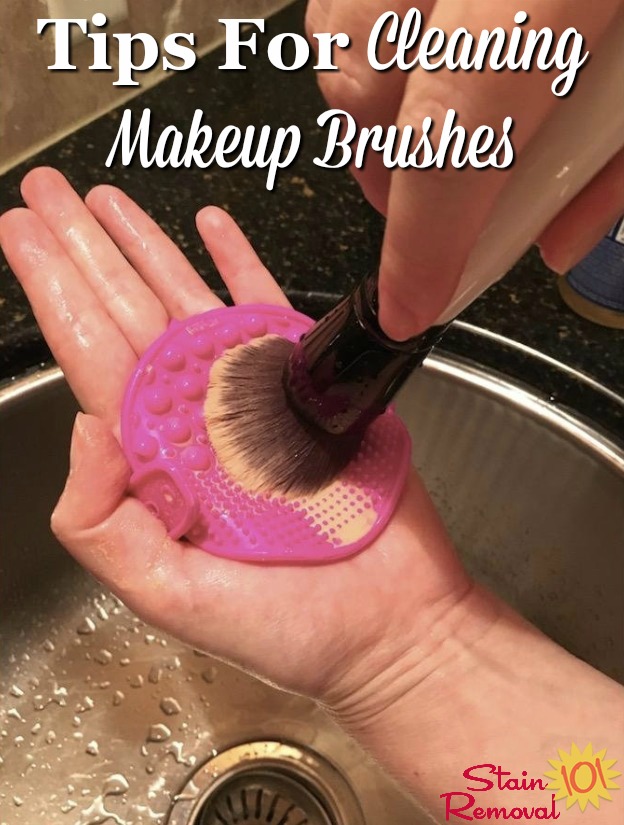
To clean the brushes simply squirt a small dollop (about penny sized) of the makeup brush cleaner of your choice into your hand, then dip the brush into the warm water, and then rub the brush gently on your hand, letting the soap get in between the bristles.
Then, rinse the brush out in the bowl of water.
Keep alternating between dipping your brush into the small amount of cleaner in your hand and then dipping the brush into the bowl until all the makeup is removed from the bristles. If necessary change the water as it becomes too dirty, to make sure you rinse out both the shampoo residue and makeup from the brushes.
Some people don't want to use this hand for the task, or find that gently rubbing the brush on something with a bit more texture helps clean the bristles more thoroughly. You can try, for example, a type of brush cleaner mat, like the one shown above to help you clean your brushes.
Makeup Brush Cleaners {Referral Links}
Once the brushes are clean it is important to dry them properly.
First, pat them dry, gently, using the towel, to remove excess water. Then, lay the brushes flat down on the towel to let them dry overnight.
If necessary, while the brushes are wet, reshape the bristles so they dry properly.
Do not prop the brushes up in a glass, or something similar that puts weight or stress on the bristles because otherwise they will dry bent and the brush will be much less effective for applying makeup in the future.
Instructions For Cleaning Makeup Sponges & Applicators
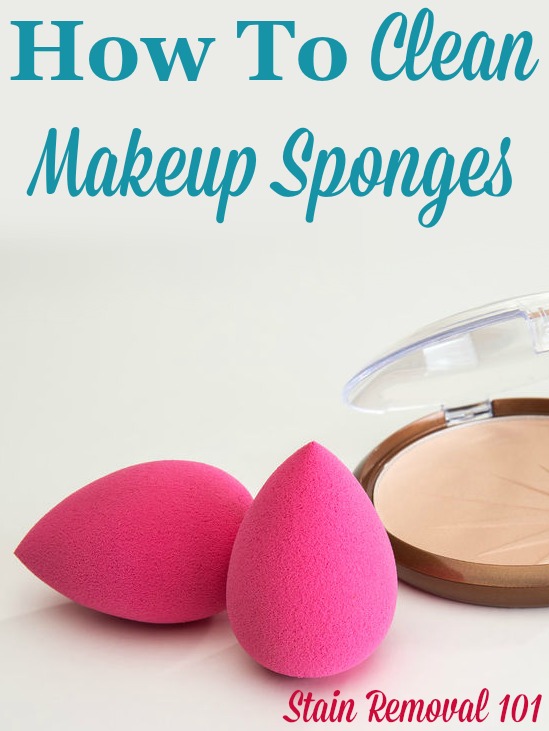
To clean makeup sponges or foam applicators, such as blenders, you should use baby shampoo, dish soap, or your makeup brush cleaner of choice, just like you did for the brushes mentioned above.
Because sponges hold so much more makeup I find it easier to clean them using running water, such as in your bathroom sink, instead of using a bowl of water.
Run the sponges under lukewarm water, squeezing gently.
Next, add a few drops of cleaner onto the sponge and work it into the sponge with your fingers, to make a lather.
Then, gently squeeze and work the sponge as you rinse it, removing both the soap and the makeup.
Depending on how dirty the sponge is, and how deeply it has absorbed the makeup, you may need to add soap and then rinse several times.
Keep doing this until the water runs clear and the sponge neither has makeup nor soap left in it.
Finally, gently wring out the sponges to remove excess water, then pat dry with a towel, and finally lay the sponges out onto a towel to let them air dry.
Make sure to let the sponges completely dry, even on the inside, before using them again.
Now that you've got your makeup brushes and sponges clean check out more tips for how to clean anything here.

Photo of makeup brush cleaning with cleaning mat, courtesy of Mazzy Star on Amazon
Thanks For Visiting My Website: Grab Your Free Gift!

Hi, I'm Taylor, a busy mom with 3 kids, so I have lots of hands on experience with house cleaning, laundry and my fair share of spots, spills and other messy catastrophes. Thanks for visiting my site.
I update the website all the time with tips, tutorials, cleaning recipes, reviews of products from readers like you, and tests I've done on various cleaners, removers and laundry supplies.
I'd love to give you a gift! When you subscribe to my free weekly newsletter you will receive a free printable laundry stain removal chart that you can reference as needed.
I hope you enjoy this gift, and stop by again soon!
Related Pages You May Enjoy
Go From How To Clean Makeup Brushes & Sponges To Home Page
CAUTION: This website is provided for informational purposes only. It is provided as is, without warranties or guarantees. Some stains and messes just won't come out, and are permanent. Further, some cleaning methods can harm your item, so if what you want to clean or launder is sentimental or expensive call a professional. See disclaimer of liability for more information.
Popular How To Clean Articles
Let's Stay Connected!
Get Free Email Updates
(and get a FREE printable)
Related Pages
 Green Cleaners: Which Brands Work Best?
 Make Your Own Cleaning Products
 Visit Household Management 101
 Visit Home Storage Solutions 101

Share Your Comments, Tips & Ideas